
After deciding to start this project and getting our supplies, the first thing to do was buckle down and set up the Pi itself. Opening the Pi in the Sky kit, we should be presented with a 4xAA battery holder and connector, a piece of wire used for the antenna, the GPS module, some standoffs and screws, and the board itself. The first thing to be done is to attach the board to the Pi, which is easily manageable with the mounting holes on both boards.
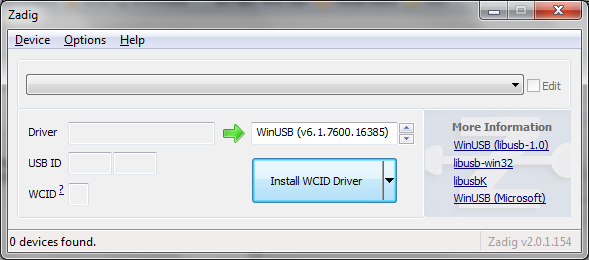
Fig. 1: Raspberry Pi mounting holes diagram.
For each hole, place one screw on the underside of the board and attach a standoff to that screw on the other side, making sure they fit together somewhat tightly. Place the PITS board on top of the Pi, making sure to line up the GPIO pins on the Pi with the corresponding connector on the PITS attachment. After making sure the connection is secure, use a screwdriver to add the last two screws onto the top of the unit. Once everything has been tightened up, the result should look like the unit pictured below:
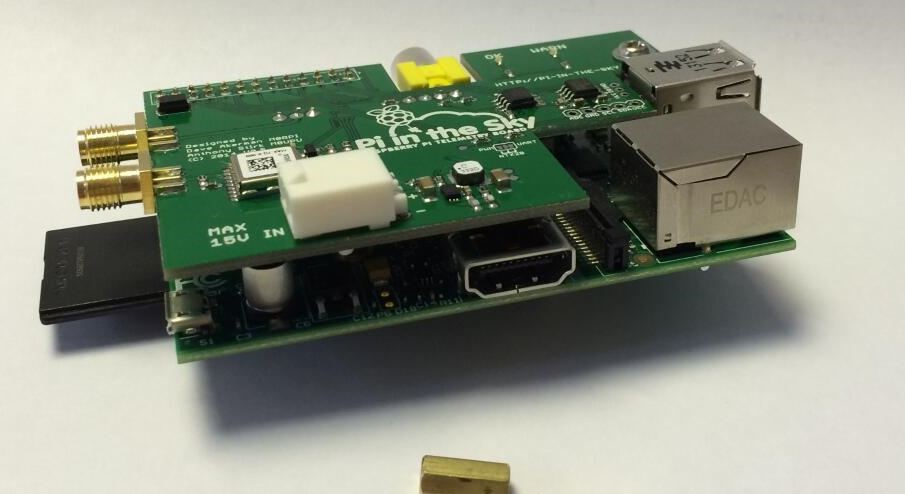
Fig. 2: Assembled Pi in the Sky board and Raspberry Pi.
Now it’s time to attach the GPS and radio antennas. Take the piece of wire mentioned earlier (the one without the block on the end) and attach it to the top of the two mounting spots shown in the previous picture. Afterwards, take the GPS module and attach it to the other point.
Between the HDMI and Ethernet ports on the Pi, there should be a ribbon cable connector, which is used for attaching the camera module. Using a flathead screwdriver or some other small instrument, gently pry up the edges of the connector until the port is open. Once it is, face the exposed part of the cable away from the Ethernet port and towards the HDMI port and slide it in. Press down on the connector until it locks into place and, if all is well, the unit should now be ready for testing, apart from the software side. Do not attach the SD card yet, as it will be useless until we format it to be ready for operation. We will also not need to use the battery connector for now, as the Pi, along with the PITS board, can both be powered safely using a standard micro USB cable attached to nearly any port.
SDR# << >> The Final Flight
