
Although tracking is very much possible on Mac and Linux, I will be sticking with Windows as my main platform with tracking as there are many more resources easily available for it. In this process, the first piece of software is SDR#. This program (or set of programs) allows us to:
- Replace the built-in receiver drivers with those that can be understood by our software.
- Convert the information from the receiver into an audio signal.
Firstly, attach the FUNcube dongle to your PC and wait for it to be properly installed and recognized.
Second, download the SDR# install package from the link below:
http://sdrsharp.com/downloads/sdr-install.zip
Once you’ve got this, extract the “sdr-install” folder to somewhere, in most cases the Desktop. In this folder you will find 3 files: “httpget.exe”, “install.bat”, and “unzip.exe”. Run the installer and it should automatically download the latest build of the software into a folder named “sdrsharp”. There will be many files in this folder, but the only one we need to worry about for this tutorial is “SDRSharp.exe”. Open up the file and you should be greeted with the following interface:
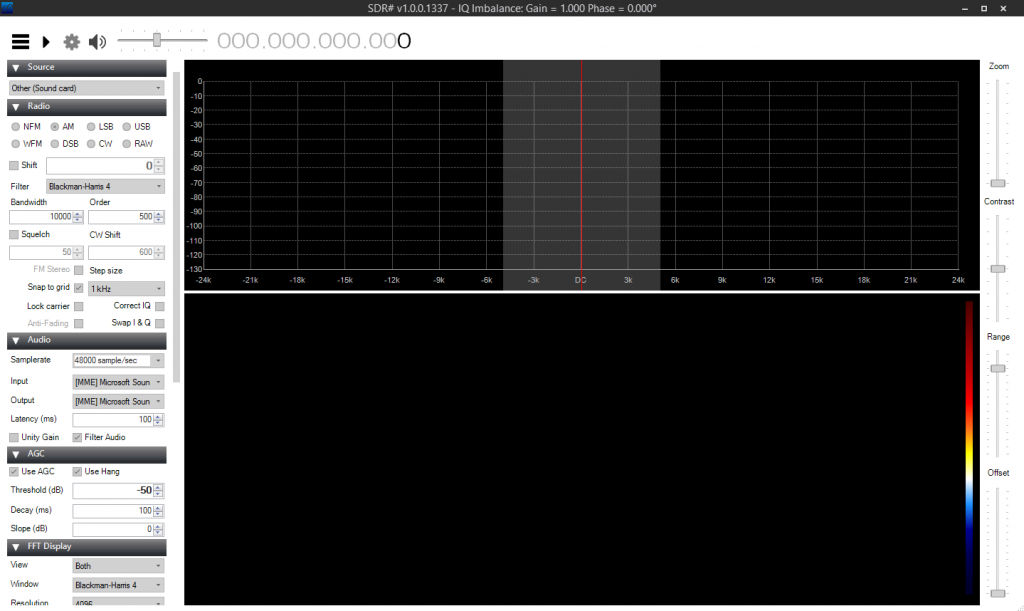
Fig. 1: SDR# Software Defined Radio software.
While it may appear daunting at first, this software is actually fairly easy to use. So that you don’t blast out your eardrums before you do this, make sure the volume slider at the top of the window is all the way down, and press the play button. A graph should appear with what looks like a bunch of random waves and one peak. The randomness you see is caused by a number of different sources, including cosmic and atmospheric noise. If you’ve ever heard white noise on a radio player or seen a TV show static, you’ve experienced this first hand. The one visible peak in the center of the graph will always stay there and is known as the DC bias, which represents the mean value of the waveform; it is not an actual signal. Here are the exact settings you need to change to get things working with the FUNCube dongle:
- Frequency (numbers at top of the window): ~434MHz
- Source: RTL-SDR / USB
- Radio
- USB
- Bandwidth: 3300
- AGC
- Uncheck “Use AGC”
- FFT Display
- Resolution: 65536 (Minimum)
- If you are getting lag issues, turn down the spectrum speed.
Adjust the zoom slider on the right so that you can view the peaks better. If the entire wave is not contained within the highlighted area (which it most likely will not be), simply move and stretch the area by clicking on the graph itself. Now that the signal is being converted into an audio signal (which you can test if you’d like by turning up the volume slowly), we need a way to route this audio to dl-fldigi. The best way I’ve found to do this is to use VB-Audio Cable, a free piece of software which creates a fake speaker and microphone, the first of which routes its output to the latter.
http://vb-audio.pagesperso-orange.fr/Cable/
Once this is installed, restart SDR# (all your settings will be saved automatically) and scroll down to the audio section on the left. For output, select the option labeled “[MME] CABLE Input” and hit play once again. Turn the volume up to max, and we should be ready to set up dl-fldigi.
